
Detailed analysis of the calibration steps of the air tightness tester to ensure accurate test results
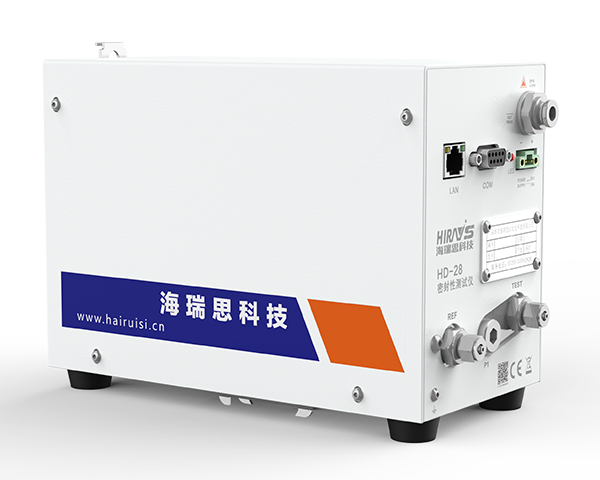
In modern industry, air tightness testers have become an indispensable tool.Ensuring the airtightness of equipment and products is critical in a variety of applications, directly related to safety, quality and performance.As the market leader, Hirays's air tightness testers have won wide recognition for their excellent performance and reliability.However, as powerful as the device itself is, accurate calibration procedures are critical to ensuring the accuracy of test results.This article will analyze the calibration steps of the air tightness tester in detail to help you easily master this important process and make your test results impeccable.
1. Preparation work
Before calibration, ensuring that the test environment is clean and dust-free is the first step.This seemingly simple step is actually crucial as any small particles or contamination can affect the accuracy of the test results.Please choose a closed space with relatively constant temperature and humidity to perform calibration work.Use professional cleaning tools to clean the space and equipment to ensure that all parts to be tested and connecting pipes are free of air leakage and contamination.During this process, take a moment to inspect the appearance of the device and its connecting parts to make sure nothing is damaged or loose.
2. Check the status of the equipment
A condition check of the equipment is also essential before proceeding with the actual calibration.Check whether the display screen, buttons and other operating interfaces of the air tightness tester are worn or malfunctioning.Then, verify that the device has enough power or is connected to a stable power source.Test run the equipment to make sure the air pump and pressure sensor are working properly.At this time, if any abnormalities are found, timely maintenance or replacement of parts is required.All these preliminary steps will help you avoid unnecessary calibration deviations and ensure smooth follow-up steps.
3. Select standard gas source
Selecting an appropriate standard gas source is one of the key steps in calibration.The standard gas source should have a stable output and a known pressure value, and this value should be within the working range of the equipment.For most air tightness testers, commonly used calibration gas sources include nitrogen, dry air, etc.Press the regulating valve on the cylinder to adjust to the required pressure value and record it.This process must be precise, as any fluctuations in the standard gas source may cause errors in the test results.Therefore, when selecting and operating a standard gas source, please ensure its stability and consistency.
4. Connect the calibration device
Connecting the air tightness tester to the standard gas source is the next step. The accessories and interfaces required should be connected with as few intermediate links as possible to reduce the possibility of leakage.Find the correct connection method from the user manual provided by the supplier to ensure that the air source is leak-free and the pressure is stable.Under normal circumstances, read and set the display to the test pressure that needs to be calibrated, and perform the test according to the manual operation.During the connection process, be sure to ensure the tightness of each interface.Do not use temporary connections or damaged connectors.
5. Perform preliminary calibration
After the device is connected, initial calibration begins.Adjust the air tightness tester to the initial setting state.Enter the reference value and gradually apply pressure, and observe whether the device display is consistent with the standard air source.If any deviations are found, record the specific values and deviation range.Based on these recorded values, the device's calibration factors are then adjusted until the device displays exactly the same pressure as the actual pressure.The purpose of preliminary calibration is to ensure that the equipment accurately reflects actual pressure changes within the normal operating pressure range.
6. Repeat calibration
After the initial calibration, the calibration needs to be repeated several times to ensure the stability and consistency of the test.This step can use the multi-point calibration method, that is, repeat the calibration at different pressure points and observe whether the equipment display at each point is consistent with the standard gas source.Through multiple calibrations, accidental errors can be eliminated and the accuracy of calibration can be improved.Record the data of each calibration to form a calibration curve.This process requires patience and meticulousness to ensure the accuracy of every data point.
7. Data recording and analysis
After calibration, be sure to perform data recording and analysis.All data during the calibration process should be recorded in detail, including initial calibration and repeated calibration data.Organize this data into a table or chart, analyze the device's performance at different pressure points, and find consistency and deviations in the calibration.Through data analysis, the calibration process can be further optimized to ensure the high accuracy and reliability of the equipment in actual work.Data recording and analysis not only verify the current calibration results, but also provide an important reference for the next calibration.
8. Verification and Confirmation
The final step is verification and validation.After completing the calibration, test again through multiple standard gas source points to verify whether the calibration results of the equipment are accurate.If any deviation is found, make adjustments and corrections in a timely manner.The performance of the equipment after calibration should meet the expected requirements and be consistent with the standard gas source.After the verification process is completed, a calibration report is issued recording the calibration results and equipment status.And ask professionals to perform regular re-inspections to maintain the stability and accuracy of the equipment.This confirmation step is key to ensuring long-term stable operation of the air tightness tester.
in conclusion
Through detailed calibration steps and precise data analysis, Hirays' air tightness tester will provide you with the most reliable test results.This not only improves work efficiency, but also provides guarantee for production and safety.I hope that through the analysis of this article, you can better understand the calibration method of the air tightness tester, which will add a guarantee to the accuracy of the equipment and the reliability of the test results.If you have any questions or needs, please feel free to contact Hai Ruisi, we will serve you wholeheartedly.
-
2026.04.11Good News | Hirays Honored as "Most Investment-Worthy Enterprise" at 2026 AI Glasses China Tour
-
2026.04.11Why are more and more companies opting for RGA technology for power bank electrolyte leakage detection?
-
2026.03.30Commemorating the revolutionary martyrs and inheriting the red spirit | Record of hirays’s theme activity of walking to commemorate the martyrs’ cemetery
-
2026.03.20Starting from June, the sale of non-compliant power banks will be banned: many companies ignore this detection issue
-
2026.03.16After charging 70% in 5 minutes, how can the safety of the power battery be maintained?
-
2026.03.14Overcoming difficulties and showing responsibility, efficient delivery wins praise - a tribute to the four pioneer employees on the production front line
-
2026.03.03Comparison of mass spectrometry technology applications: How do Heris helium mass spectrometers and RGA series enable precision manufacturing?
-
2026.02.26Construction has started | hirays starts a new journey of struggle in 2026
-
2026.02.06Let’s work together to embark on a new journey | The 3rd hirays Fun Games was successfully held
